DIY Laundry Room Decor

Laundry room decor socks

Do you have this pile of single socks on top of your dryer?20160403_174418
It seems like no matter what I do,  two socks go in and one comes out. Or I think two go in…the mate usually shows up eventually but until then I have a pile of single socks on my dryer. Drives me crazy!
So until there is a way to catch the illusive sock eating monster,  who I’m sure is a relative of big foot, I HAD to organize this pile.
I’m crazy about my chalk lettering  right now for just about all of my projects that will allow it. While searching through pinterest and getting ideas for my Wood and Art Display, I found ideas for a similar set up for these single socks (check here)!
I started by spraying my wood board with chalky finish spray paint! The coverage is amazing and I highly recommend it.

image


Gray wood b&A

While letting that dry, I also spray painted some small clothes pins too.
I decided on my final phrase for my board and selected my fonts and size using my favorite website PicMonkey. Here is my template:Sole Mates

Then using my chalk method I transferred my stencils to the board and filled in the letters/design.

image

image

image

image

Once you get your lettering done, and you’ve lightly cleaned up the excess chalk around your letters, you’ll want to spray a clear top coat over the lettering so they don’t smudge or fade. Next, I added wire and loop brackets for my “clothes line”. Then clipped on my cute little clothes pins.

image

image

Here it is! I LOVE it! An easy project that will make my laundry life easier not to mention give me something cute to look at!20160403_175112 - Version 2


How to: Perfect Chalk Lettering

Chalk Lettering Header

Several years ago I was prepping for a Kentucky Derby party and I was trying to write the menu on a large chalk board as beautifully as I’d seen in pictures. I was failing miserably.
After a few freehand and stencil attempts I was about to give up when I realized I could print what I wanted on paper,  in any font,  and then trace & transfer it to my chalk board! Genius!

Here is how it works:

You need basic chalk
Chalk marker
A printer
The item,  chalk board,  wood, etc, you are writing on

image

I’m going to reference the DIY Wood Picture Display I just completed.  You can find that by clicking here.
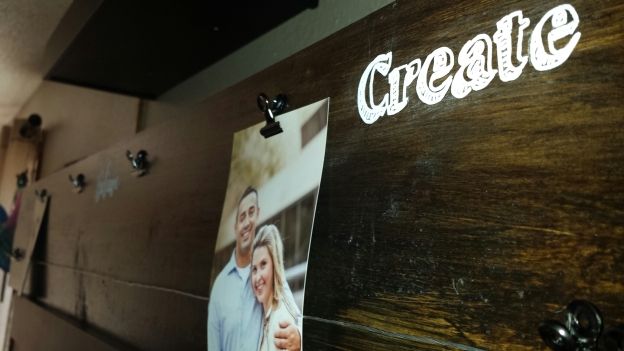
I wanted to add “Dream, Believe, Create ” to my wood board.

image

image

First you simply type out the wording you want in the font of choice and print out the size you need. I’m better now at eyeballing it,  but sometimes it’s a print and reprint until I get it right.  Here is my template:

dream art board wording

Then I generously trimmed around my words. Next,  take your basic chalk and rub a good coating on the back of the paper.

image

The chalked side will go down on your surface and as you trace the letters it will leave the design in a light chalk outline.

image

You’ll want to press firmly depending, of course,  on what you’re working with and take your time. The more patient and detailed the better the outcome. It’s worth it!
Once your tracing is done, carefully lift the paper off. Then take your chalk marker and trace or fill in your outline. Voila!

image

image

image


20160328_123007

Here is the chalkboard of stats I made for my daughters birthday using this same method. I just printed out several stats in different fonts and banners. I laid it all out and then went word by word adding it to the board.

You might also like the Laundry Room Decor I also made using my chalk technique.

Laundry room decor socks

pinmethis.com