Our sweet babysitter is graduating high school. We love her dearly and she is so wonderful with our kids. I asked my son what he wanted to get her for her graduation. Robots. Always his answer. I thought about making a robot card, but still wanting to make her something nicer (because she always does cute crafts with the kids) I headed to Pinterest.
So there we sat, my son in my lap, scrolling all the ideas posted under the search “robot crafts”. Suddenly, my son pointed and yelled, “That one!” A beautiful picture of a felt robot from Mango and Passion Fruit.
I probably won’t ever scroll through Pinterest with my kids again saying I would make what they found. This project was hard. It looks easy and maybe for someone with bit more experience in sewing it would be, but it took me FOR-EV-ER. However, the finished product is great.
So great, that I now have to make another for my son. I had to promise to make him one so I could pry this one out of his hands for our gift.
You’ll need:
Felt (color of choice – I also used a heavier felt – I think the softer might be easier to work with)
Thread (contrasting color or blending color, I used upholstery thread)
Needle
Buttons (for eyes)
Filler (to fill your cubes)
Scissors
Ribbon (for a bow or maybe a bow-tie?)
What to do:
Here are the measurements I used for my cubes:
Body = 8 cm square (6 squares)
Head = 6 cm square (6 squares)
Hands & Legs = 4 cm square (24 squares)
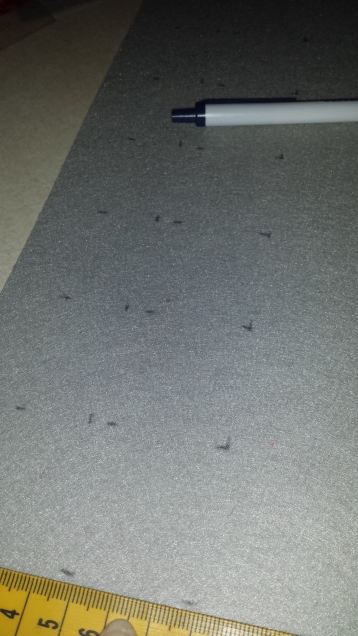
Measure out your squares on the felt and cut them out. I was glad that they didn’t have to be perfect. You want it to have a homemade look.
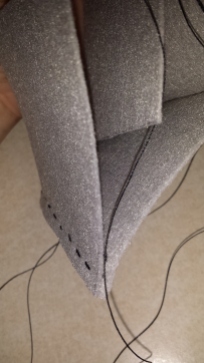
Start with the feet and hand boxes and a long strand of thread that is doubled. Sew one end of two pieces together. At the end of that end start the next square, it will usually be the top or bottom square. Repeat. Repeat. Until you have a cube. Remember to leave an opening big enough to add your filler.
Once you finish your 4 small cubes for the feet and hands you can add your embellishments to the “face” of the robot. I added 2 black buttons for eyes and used my thread to make lashes. Of course, no girl robot is complete without a pink bow, right?
I found a Pin on tying a small bow using a fork. It was easy enough, although mine didn’t turn out as cute. Again…homemade!
Then you can sew your head cube together using the same method as the the feet and hands.
Finally we get to the body of the robot. I started by sewing the four sides together, then adding the bottom square to the front square. Then I added an arm to each side. I sewed through the edge of the cubes onto the sides of the body. It felt most secure this way. I then repeated this with the feet. After those were on I finished sewing the bottom square to the other sides.
Now for the head! I sewed the top square of the body to the front body square. Then attached the head cube to that. Once everything was secure, I finished attaching the top square of the body cube to the sides and stuffed.
Here she is! Soon to have a brother! This really did turn out well. If you have a kiddo that loves robots this would make for a nice keepsake.
We also made her this robot gift card holder. Hope she loves robots (ha ha ha)! (The gift card is on the robots chest under the “buttons”)


She will love it and think of Danny!
LikeLiked by 1 person
Thank you so much for the break down on how to make the robot. Its given me confidence that I can make one now.
LikeLike