

In our first home as newlyweds we had big blank walls and little money to buy art. I decided I could make my own and the hobby (addiction) started.I love art. Almost all the decor in my home is something I’ve made, painted, or photographed.
Since my son, Danny, was less than a year old we’ve been doing crafts and art together. Painted footprint “ghosts” and hand print flowers have been taped to our walls and cabinets.
We moved to Bismarck and started going to a weekly art class with our friends.

Danny would bring home lots of projects and paintings every week. I wanted a nicer way to display them and something that we could change them out as he brought them home. Also, a way to easily change out photos would be great too!
I had seen wood and wire/clips displays all over Pinterest. I thought that it would be far outside my crafting ability. But I was determined to make one of my own. Honestly, I figured I could just wing it other than follow a tutorial. But there are so many inspirations out there like this one from Heels in the Mud.
I had a couple of wood based projects I wanted to do so I headed to Lowes, kids in tow, to get the supplies. I selected a basic 6ft wood plank and a very nice man cut it into two pieces for me, a 4 ft and 2 ft. Minwax Polyshades Stain in Mission Oak is what I settled on for a base color. I have zero experience with staining wood, but I thought, how hard could it be?

I ran by Hobby Lobby and got the metal clips, and also another stain, Rust-Oleum Wood Stain in Weathered Gray in hopes of making a master mix of color. I already had my oil rubbed bronze spray paint from my prior Light Switch project, and wire and hooks from a large picture hanging kit we bought years ago.


I started with the Mission Oak stain and, using cheesecloth (also purchased at Lowes), applied it to the wood pieces. You want to keep everything moving in long strokes to keep the stain smooth and not blotchy.


I let it dry a bit and then used the same process with a new piece of cheesecloth and a little of the Weathered Gray stain.

I tried to just keep blending the colors letting some peek through more than others in different places. I wanted my plank to have a little bit of a charred look so it would match the black and oil rubbed bronze accents in our home. So I lightly sprayed my spray paint through out my staining process.


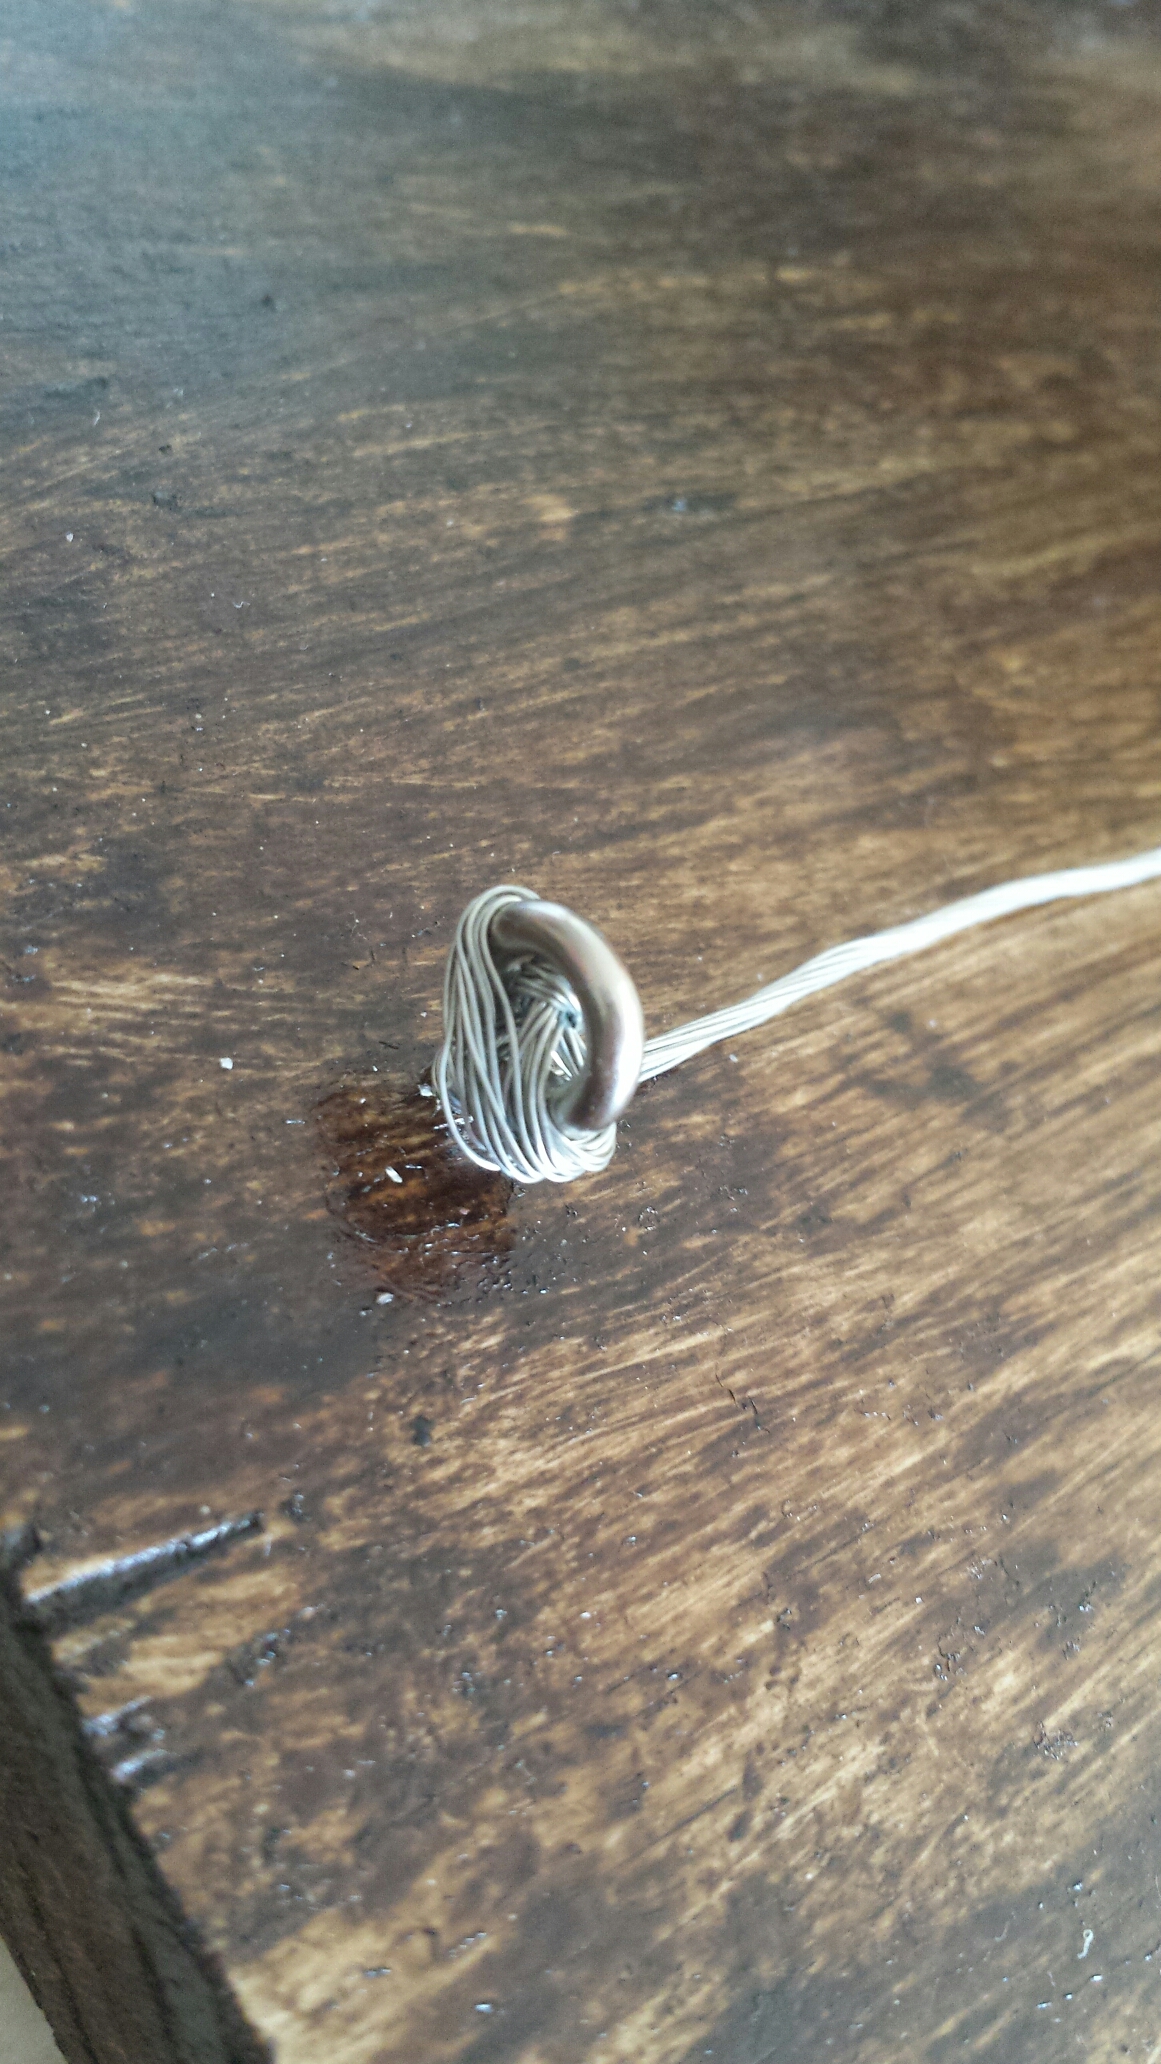
Once I was happy with the color, and it was dry, I brought it in to attach the brackets. I measured everything out and set it out to see that it looked good before screwing it in. I attached the loops, just push and twist, then attached one end with wire, twisting like a twist tie then around the loop, then pulled the wire taut and did the same to the other side.

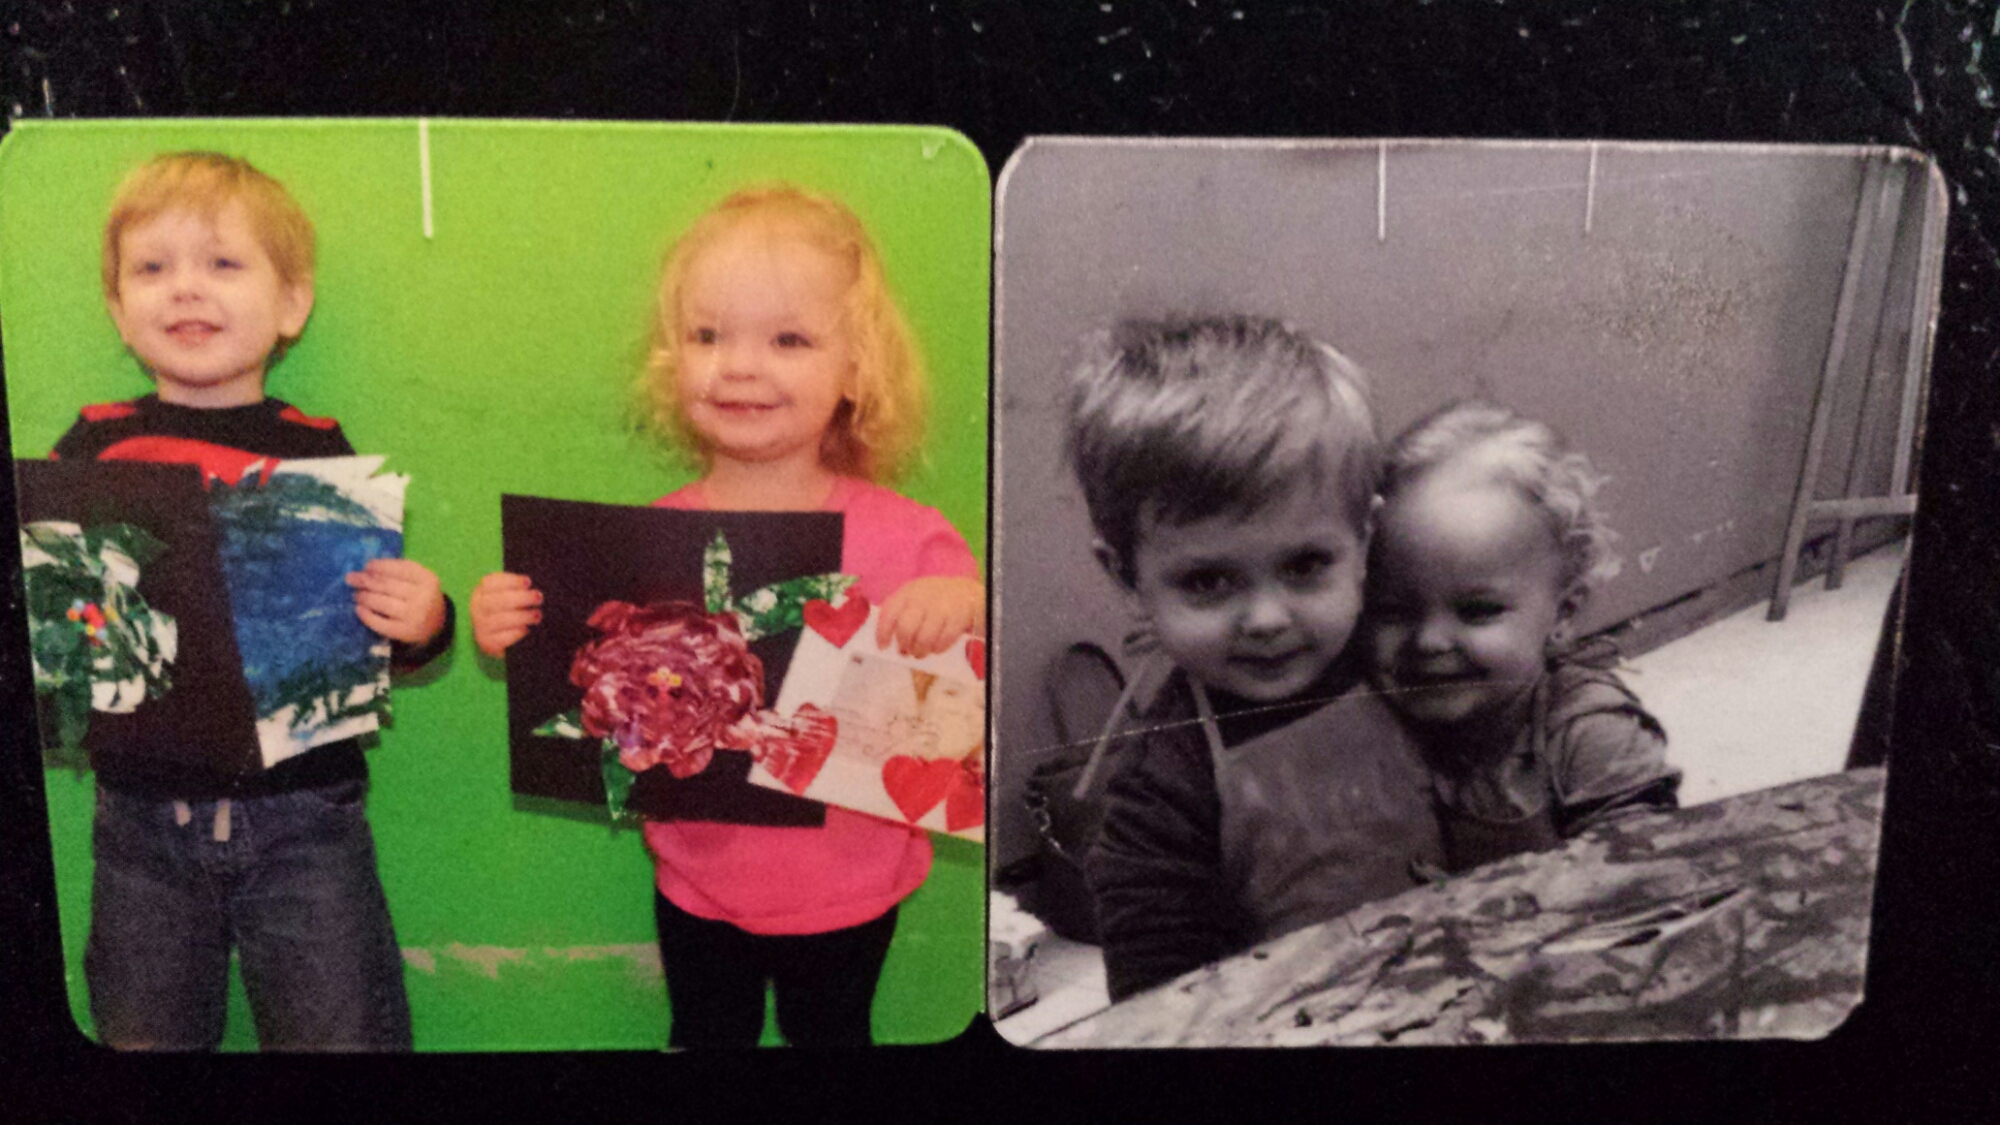
I wanted space to hang pictures, 4×6 prints, at the top, so I spaced my clips about 9.5″ apart and secured them with screws. Then I painted the screw heads to match with acrylic black paint.

My board still needed a little something so I added, “Dream, Believe, Create” in chalk marker. A tutorial on how to make chalk marker words & art is coming.


Just add sawtooth hangers to the back and hang! I love the finished product. Making this sparked more ideas so stay tuned for those too!


Pingback: How to: Perfect Chalk Lettering | Saw it on Pinterest...Famous last words
Pingback: DIY Laundry Room Decor | Pin Me This!
Pingback: DIY Hanging Mason Jar Organizer | Pin Me This!