This is one of the best times of the year for this Kentucky girl. I love that I get to share a bit of home with people no matter where we roam. This year Bismarck will get the full effect of big hats and southern fare!
I’m working on some new decor and food for this year, but here is a look at past parties. Everything, of course, made by yours truly!
Decor
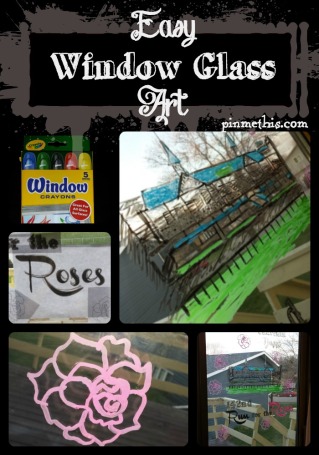
So I based my primary decorations on a design by Hostess with the Mostess. She used real roses, but I wanted to make something I could store and use again, so silk roses made the cut. I did use real roses in a few other decorations including filling for our best hat contest!

Kentucky Derby Party, pinmethis.com

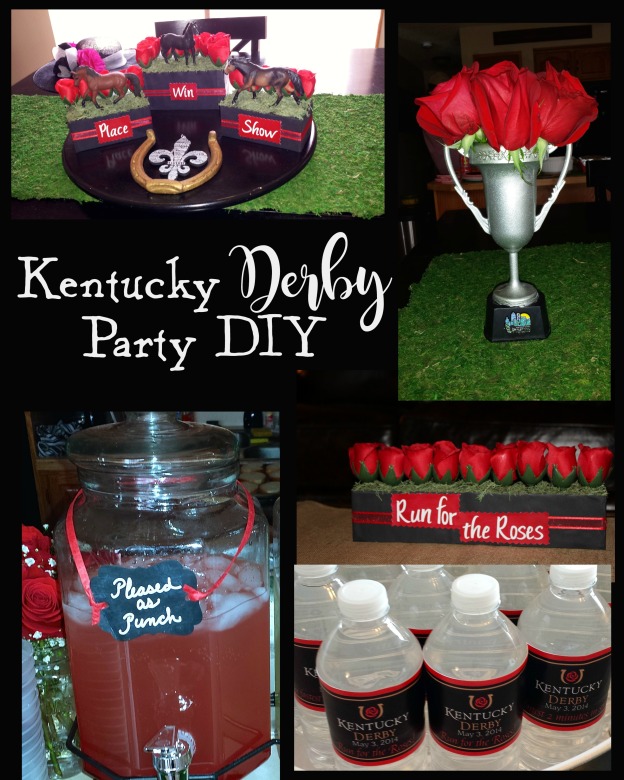
WIN, PLACE, SHOW!
These are just foam blocks that I found at the dollar store covered in black construction paper. I covered the top in green moss, from the craft store, and then just poked my silk roses (trim the stems) into the block. To make the words I put letter stickers on cardstock, lightly painted over them with red pain then peeled the stickers off when it was dry. The horses are from the dollar store too! Further down you’ll see I spray painted a few horses silver and they turned out great!

This trophy for best hat was an easy make with a cheap “gold” one from the party store that I dressed up with spray paint, real roses, and added a Pegasus Pin that my mama was nice enough to send me!
I found some great old horseshoes at an antique mall and spray painted a couple and left the others dirty. The fleur-de-lis is from a great find from The Urban Farmhouse in Louisville, KY. Click here to head to their Pinterest page of Derby goodies. All of their rustic farmhouse style decor/clothing/accessories are also on their Pinterest site.
Southern Fare
Let’s talk food! This is one of my favorite parts! I like to make everything myself for any party. But the key to good party food is to know your limitations. I can make good cupcakes, but decorating them is a no go for me. I leave that to the professionals. I usually order cupcakes with frosting roses for the simple ease factor. Plus they make for great decoration.
Hot Browns (this is the link for the original REAL DEAL) are a must and Benedictine sandwiches are one of my favorites. One year we even did Kentucky Fried Chicken (KFC)! As always, like any good Kentuckian, we always have Derby Pie. Featured below in the top left pic, are mini Derby pies.
You can make a great punch from a couple cans of concentrate, I prefer raspberry lemonade, mixed with about 3 liters of Sprite. It’s delicious and a nice compliment to all of your southern foods.

Rose Cupcakes

Mini Hot Browns

My Special Punch & Lemonade

Rose Cupcakes

Mini Derby pies and Rose cupcakes
Dinnerware
You always need plates and cups and the red and black are my favorite. I hope that one year I’ll be able to get out of my comfort zone for something different but until then, these are what I love:
You can find these many places, online party stores, ebay, or Oriental Trading, which is where I got my labels for my water bottles!
You can also check out my posts on Derby Hat Etiquette, Making a Hat, and a full hat making Tutorial!
Last but not least is to get some great printables that you can put in a spray painted (to upgrade) dollar store frame or maybe even transfer to canvas. I can’t wait to show you what I’m working on for this year, but until then here are a few cute ones you can print for free now!

Hostess with the Mostess

Hostess with the Mostess

pinmethis.com
Here is more help to make your party a WINNER!