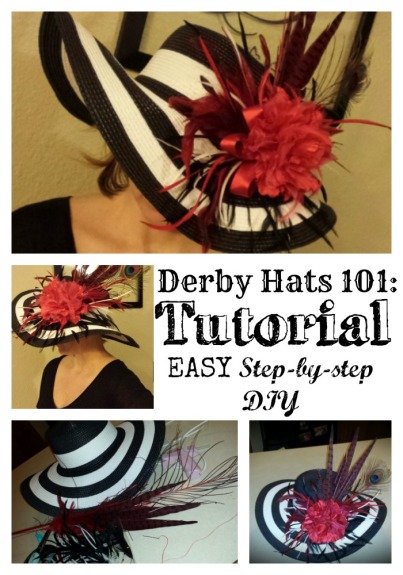
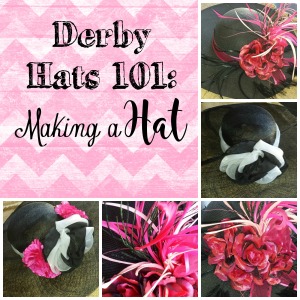
It seems that my previous post about making a hat was popular, but it was lacking a step-by-step tutorial. So I thought I’d share how I made this years hat.
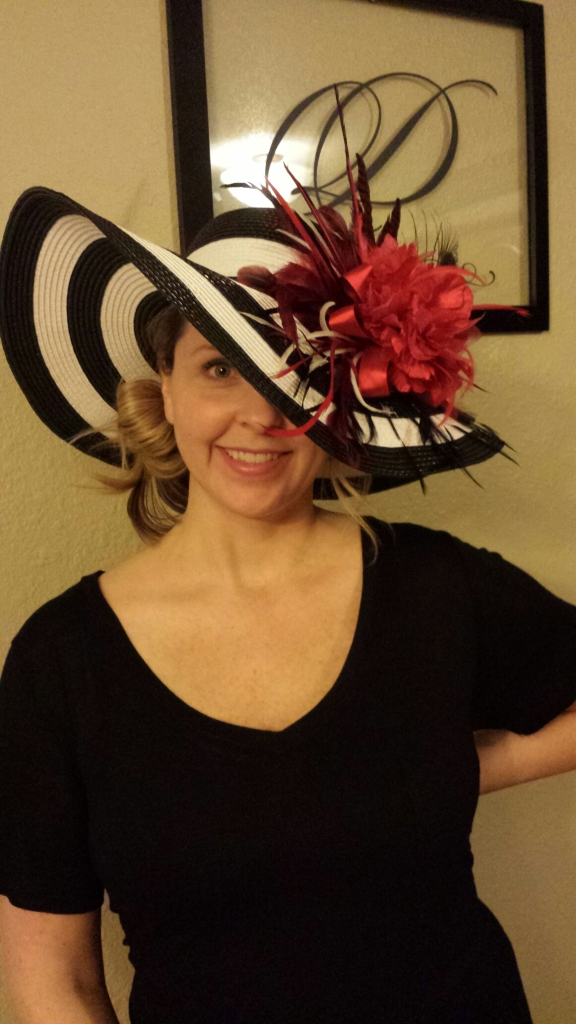
You can easily make a hat that looks like you spent a fortune or had it made. This year I found my hat at Target! $14.99 for a cute black and white stripe hat. It fit well and had a good shape.
I then went to Hobby Lobby, 40% discount coupon in hand, and wandered the store.Go with an open mind. You never know where you will find inspiration. I honestly went thinking I wanted to do big flowers. Then I found feathers. RED feathers. I gathered some that went together, knowing that if I needed more I could always go back. Since I already had red ribbon at home, as well as hot glue, thread, and extra decor, the total I spent at Hobby Lobby was no more than $10.
$24.99 for a Derby hat? You can’t get those prices at Kroger! I know for sure; My aunt sent me this picture while she was shopping:
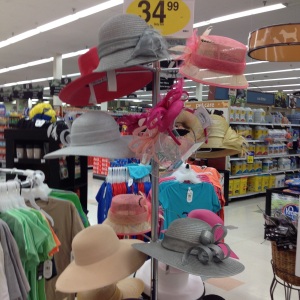
pinmethis.com
The Fit
First get comfy in front of a mirror and position and reposition your hat to find the most flattering style. If it has a wire brim you can play with the curves of the brim. I love the dip over one eye. Some prefer to have it sit back away from their face.
If your hat is a solid style with out a noticeable front or back, although they usually do, rotate your hat around to see if one side fits better. Once you’ve decided, if the front you are using is different from the true front you might mark it with a safety-pin. So you remember where you plan to put your decoration.
Styling Step-By-Step
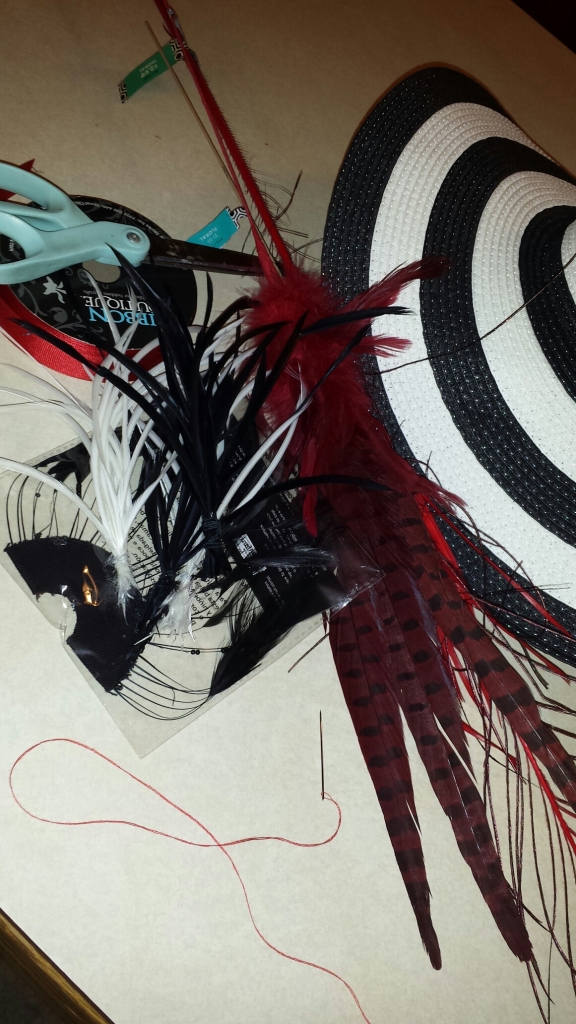
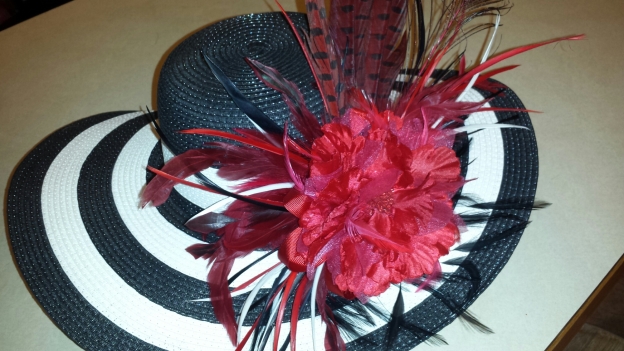
I have the black and white stripe hat, a few large bunches of red feathers, several small bunches of black and white feathers, red ribbon, and a peacock feather that has also been dyed red.
**If you are making a fascinator, all of the same methods apply,however, you may want to use smaller feathers. If you are using a headband, cut two circles from felt and hot glue two sides so you can slide the headband through the circle, one felt piece on top to hold your decoration and one on the bottom that sits against your hair.

I also have at the ready, a hot glue gun, needle and thread, tape, and scissors.
Also, find something you can set your hat on as a stand so you can really work on it with the brim as you need it. I used an upside down clay pot that is in the process of being made into a cake stand.

OK, this is the fun part. Just remember that you can always redo, change, alter, or even start over. There is no right or wrong way to do this. Just let the creativity flow.
If you want to put a band of ribbon around the crown do this first. You can tack it on with thread if you plan to remove it or hot glue it for a permanent solution. I like to pin/safety-pin it to the hat to hold it in place as I go. After much debate, I decided to do without this year.

However, I decided that I wanted to make my decoration removable because I liked the hat so much. Super great for a summer hat! If you are going to do this you can follow what I did and make a ribbon base (see below) for all that you will glue to it or cut a small piece of felt in the same color as your primary decor or hat color.
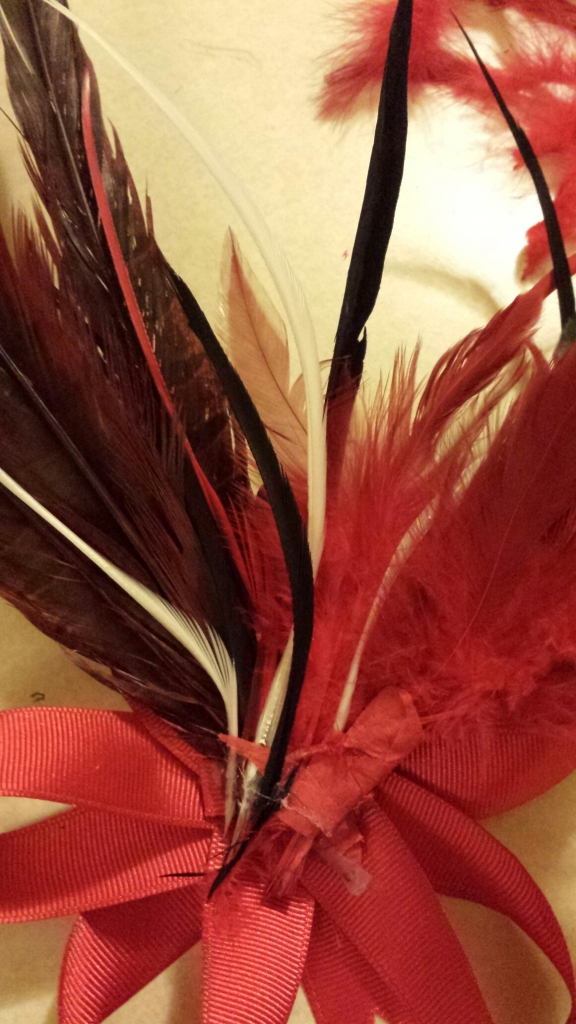
This is my base: I looped my ribbon around a few times and then attached the loops with thread. Once I had that together I used hot glue to attach a few more loops with single strands of ribbon.
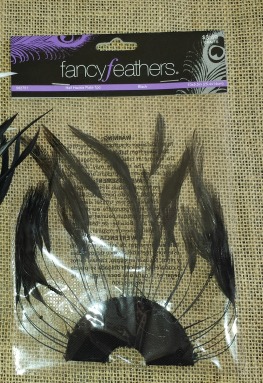
Next, I took apart the feathers to separate the long feathers from the short and to remove the long wire stem.
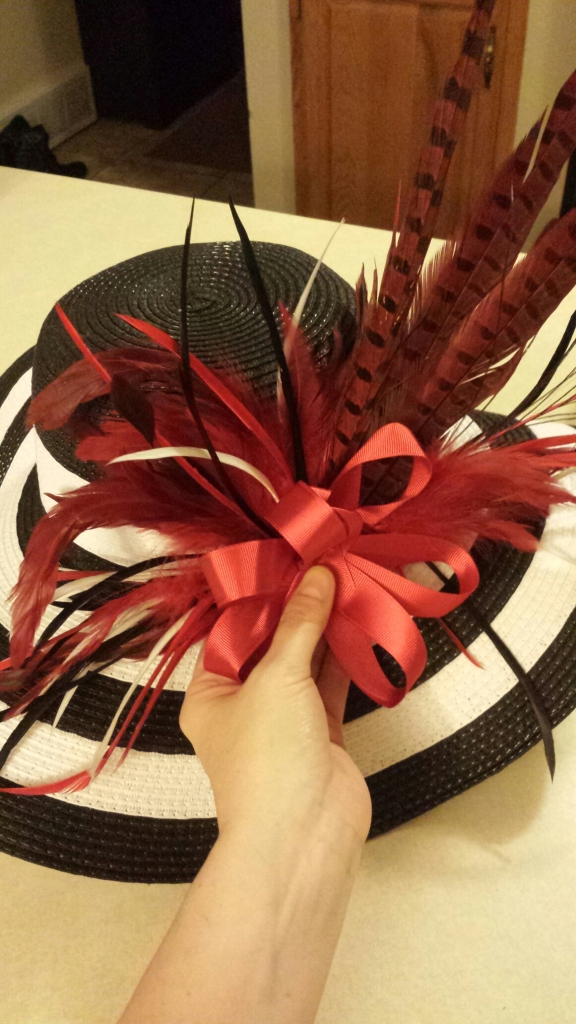
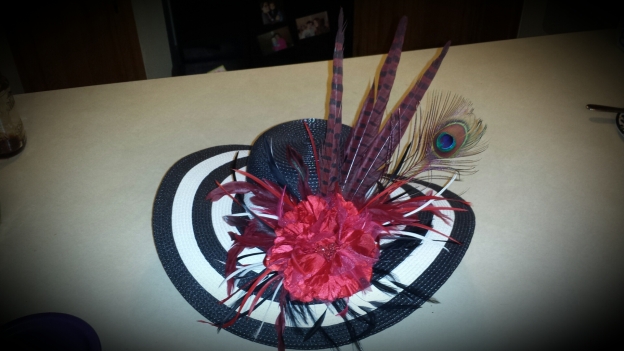
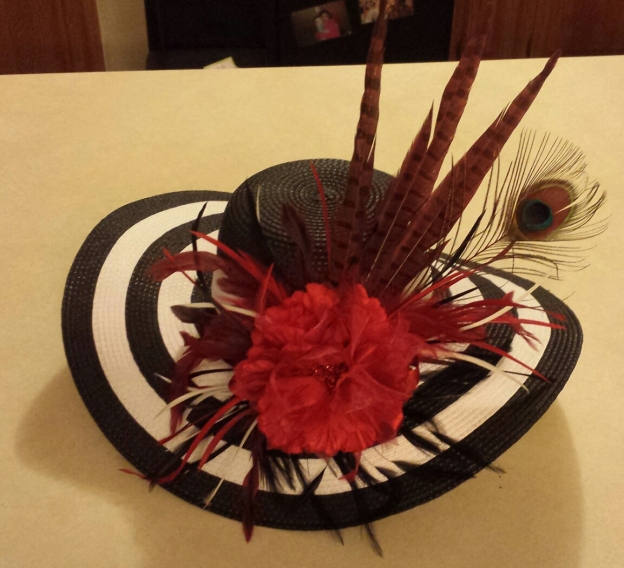
Once I decided the angle on my hat I wanted for the long red feathers I hot glued them to my ribbon base. I then attached a few single sprigs of red, white, and black feathers around that with hot glue.
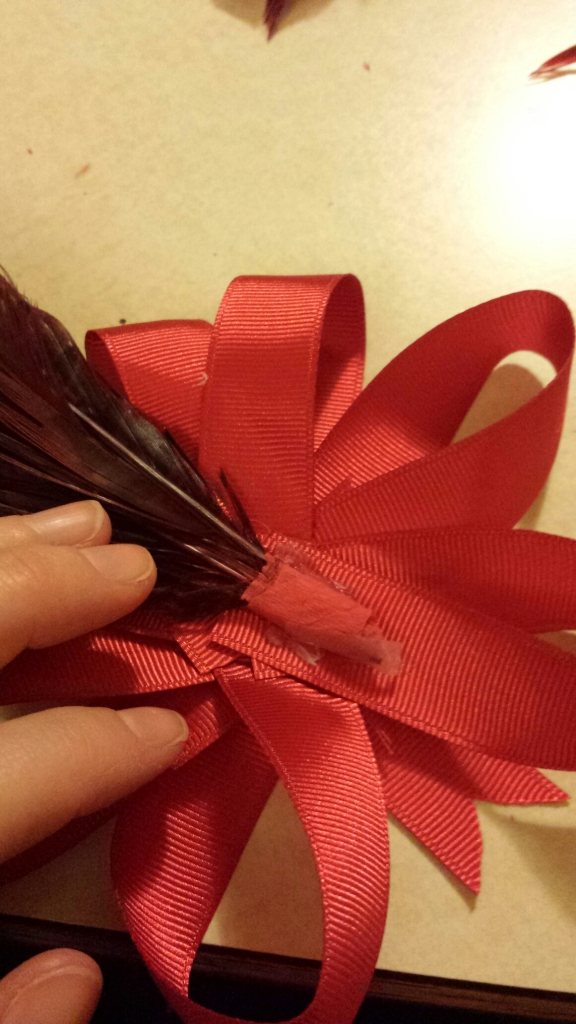
A few times I would group together single strands of feathers and hot glue ribbon around the base to keep them together and to keep my fingers from getting singed…again. I also used the end of a plastic fork to lightly press down on the feathers as the glue dried.

You want to keep following this process until you are happy with the spray of feathers or flowers. It doesn’t have to be even or symmetrical. My final addition was the peacock feather for my boost of luck!

I then added the half-moon of black feathers to the bottom of the ribbon so they would rest on the brim of the hat.
I was really liking my finished product, but something about the ribbon just wasn’t sitting well with me. It just needed something more. I think if the ribbon was wider or had pattern I would have liked it more.
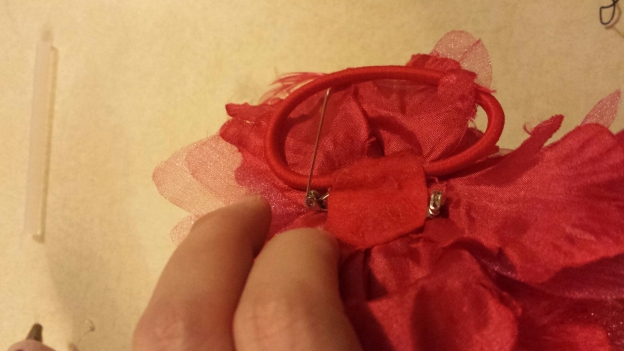
So I dug through all my brooches and hair clips and brought several to the table. One worked out to give it the WOW factor. It also had a pin on the back as well as a hair elastic.

I pinned it on the center of the ribbon and voila! GORGEOUS! How to add the entire decoration to the hat? A safety-pin of course. I just have one holding it in place right now and may add another before May 7th, but it seems secure enough.

So what do you think?
It’s Derby y’all!
GO BABY GO!!
Click below for more Kentucky Derby fun:












So beautiful!,,,you ought to go in the hat making business!
LikeLiked by 1 person
Ed says “you can take the girl out of Louisville, but you can’t take Louisville out of the girl!”
LikeLiked by 1 person
Thank you! I’ll always be a Louisville girl at heart!
LikeLike
Thank you for the hints & the step by step directions. I’m making my 1st Derby hat. Hope it turns out just this cute 👒
LikeLike
Fabulous! Thank you for posting. 🙂
LikeLike
Gorgeous hat! You’re very talented although you do make it look easy.
LikeLike